

You won’t always have a professional photographer to capture and edit photos of those everyday magical moments, but it doesn’t make them any less precious.
We want to teach you how to give your photos an extra little punch for sharing and printing! Ready?!
Let’s learn!
Today we want to share how we edit our photos on our phones quickly and easily!
Enter the VSCO App! We LOVE this APP! The best part is that the free version is amazing, and the version you pay for (VSCO X) is only $20 a year. Go ahead and download it cause you are gonna need it!
With the paid version, you get access to way more presets. Although, I generally stick to one or two presets and don’t venture out much. But the part I love about the X version is that you can edit video using the same presets as your photos! Y’all know I hopped on that QUICK when I found that out.
But either way, this is such a great tool for editing photos on your phone.
I am going to walk you through some of the features I use the most on the app.
(I am going to be super detailed here so bear with me, haha!)
Let’s go!
-
Open the VSCO app and import photos using the small plus sign at the top right hand corner. Choose the photos and click import on the bottom.
-
Click on the photo you want to edit and click on the editing tab- all the presets should pop up.
-
Choose desired preset! Have fun and play around here. One of my biggest pieces of advice is to use the adjustment slider. Once you click on the preset- you can choose the intensity of the preset. Remember in most cases, less is more.
-
Once you have a preset you like, move to the smaller adjustments menu so play around with things like exposure and contrast. Other adjustments I like to make are adding sharpness, adding grain, adding warmth, playing with the saturation. Play around with it to find your own look. I like my photos on the warm side, but Devin likes cooler tones. You may like that filmy-look. If so, I would check out the Fade tab. When I use these tools, I usually adjust the slightest bit. Go gradually. It is easy to over board it when you first start, but usually the goal is to highlight the natural colors and feel of the photo.
-
Once you are happy with your edit, use the save tab to the top right.
-
Export images using the three buttons on the bottom right hand and pressing save to camera roll.
-
And there you have it! Beautifully edited images ready to share with the world and print for your home!!!
Other tips:
-
My go to preset is- A6. It is available with VSCO-X. My favorite presets with the free version are C1, G3, and M5.
-
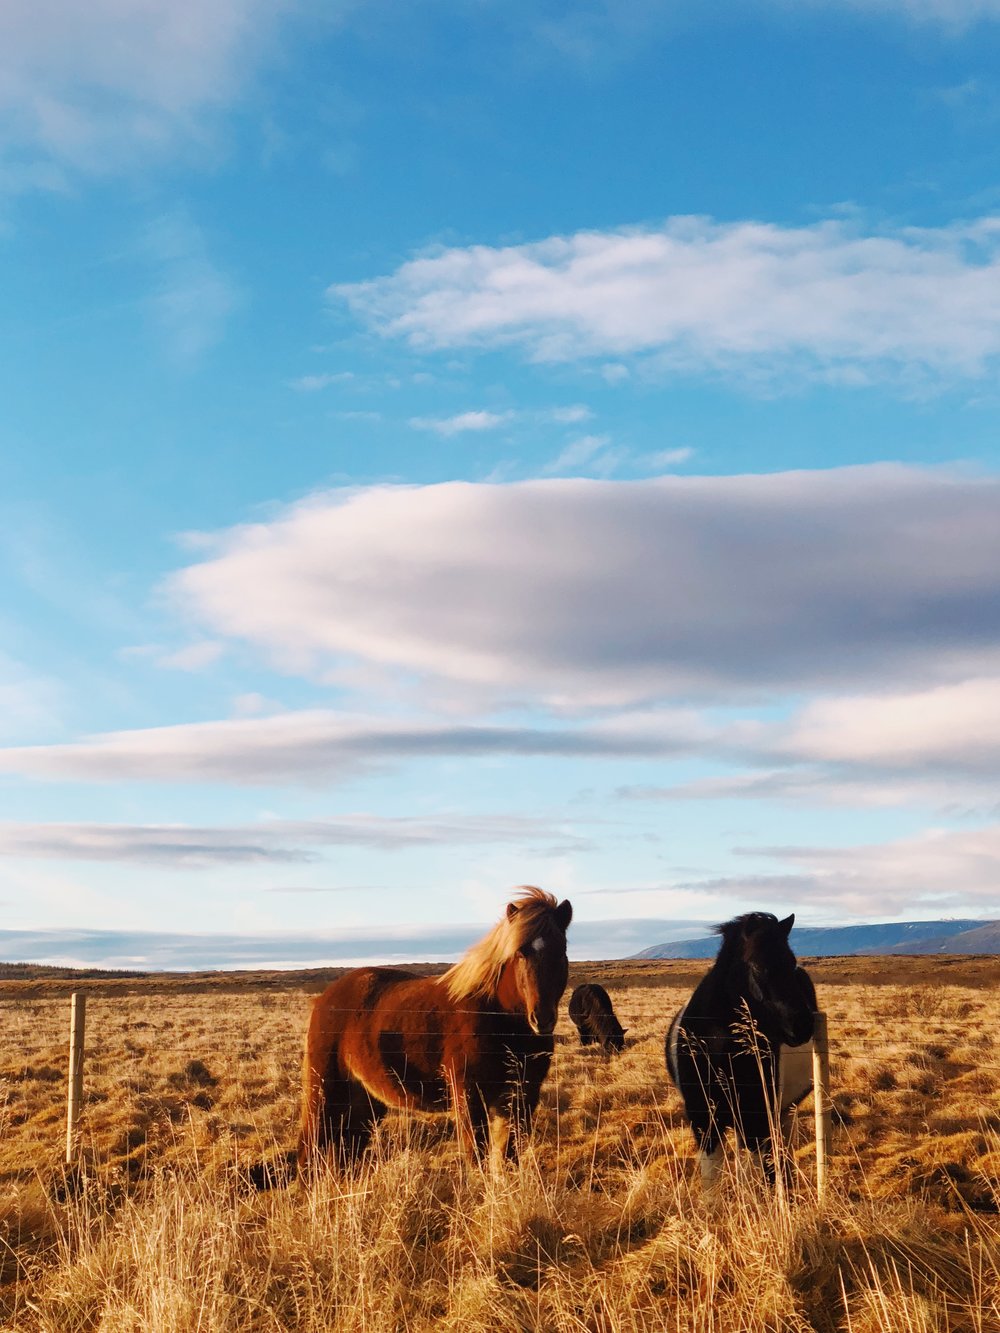
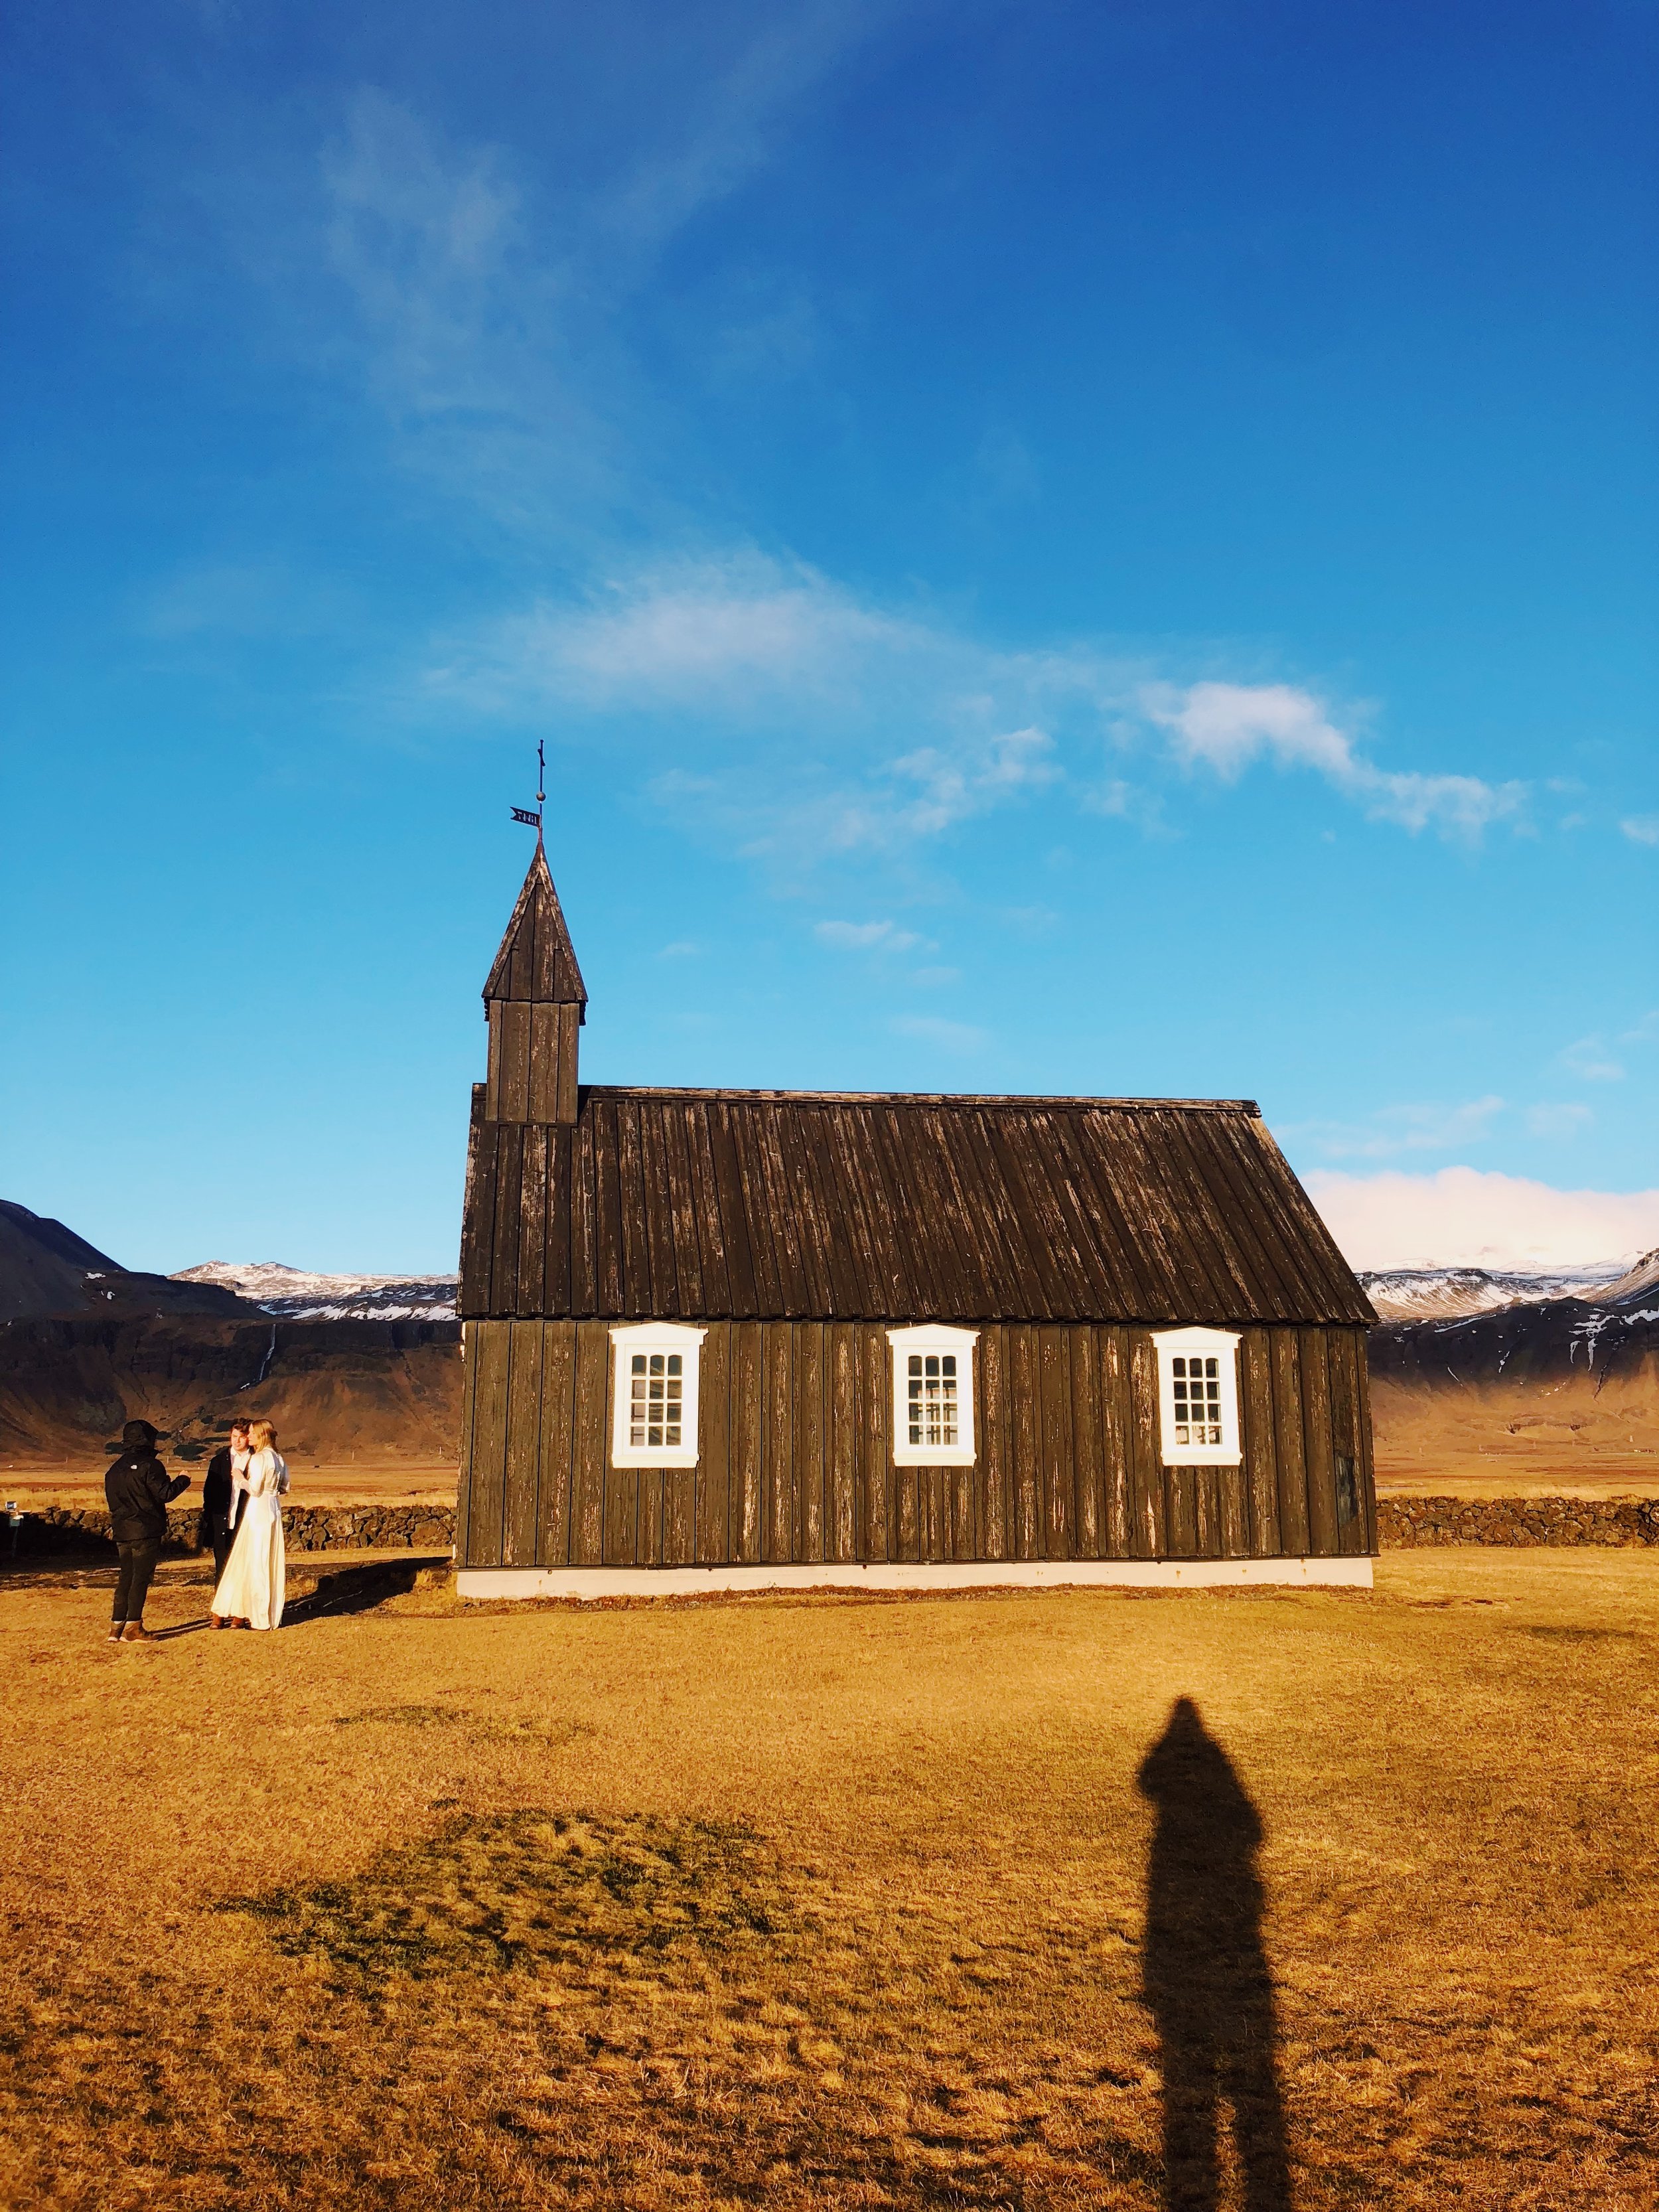
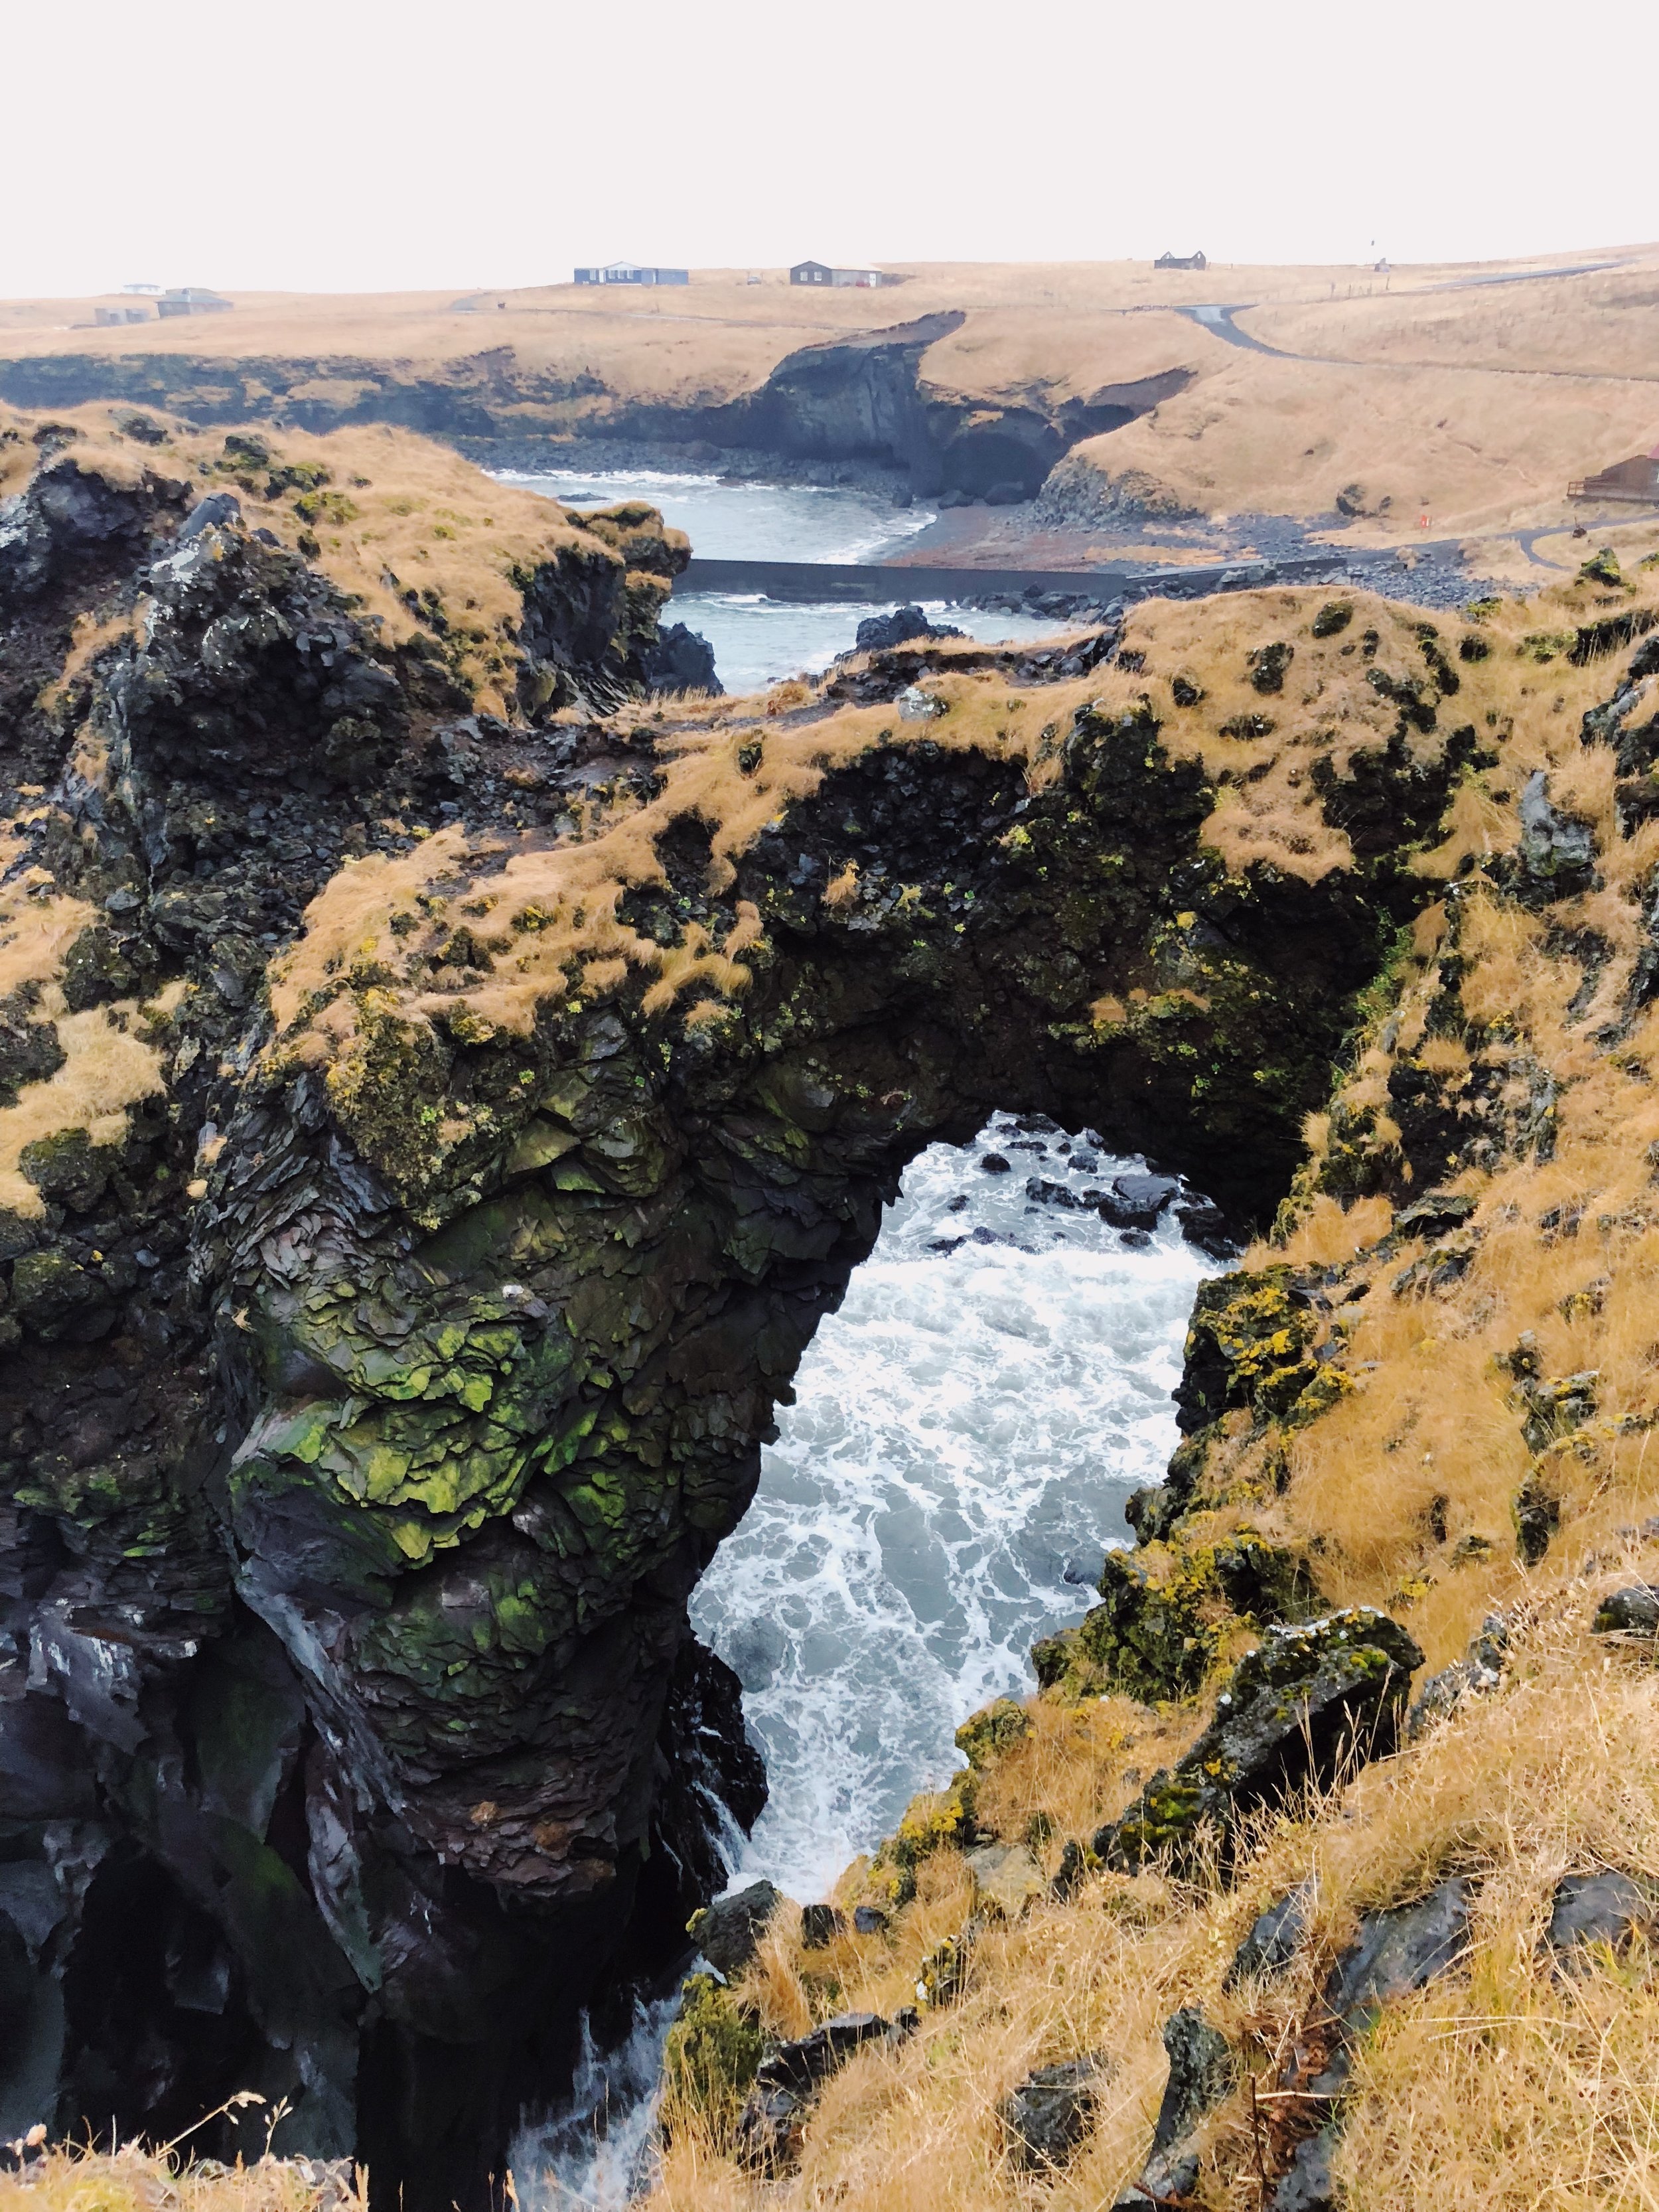
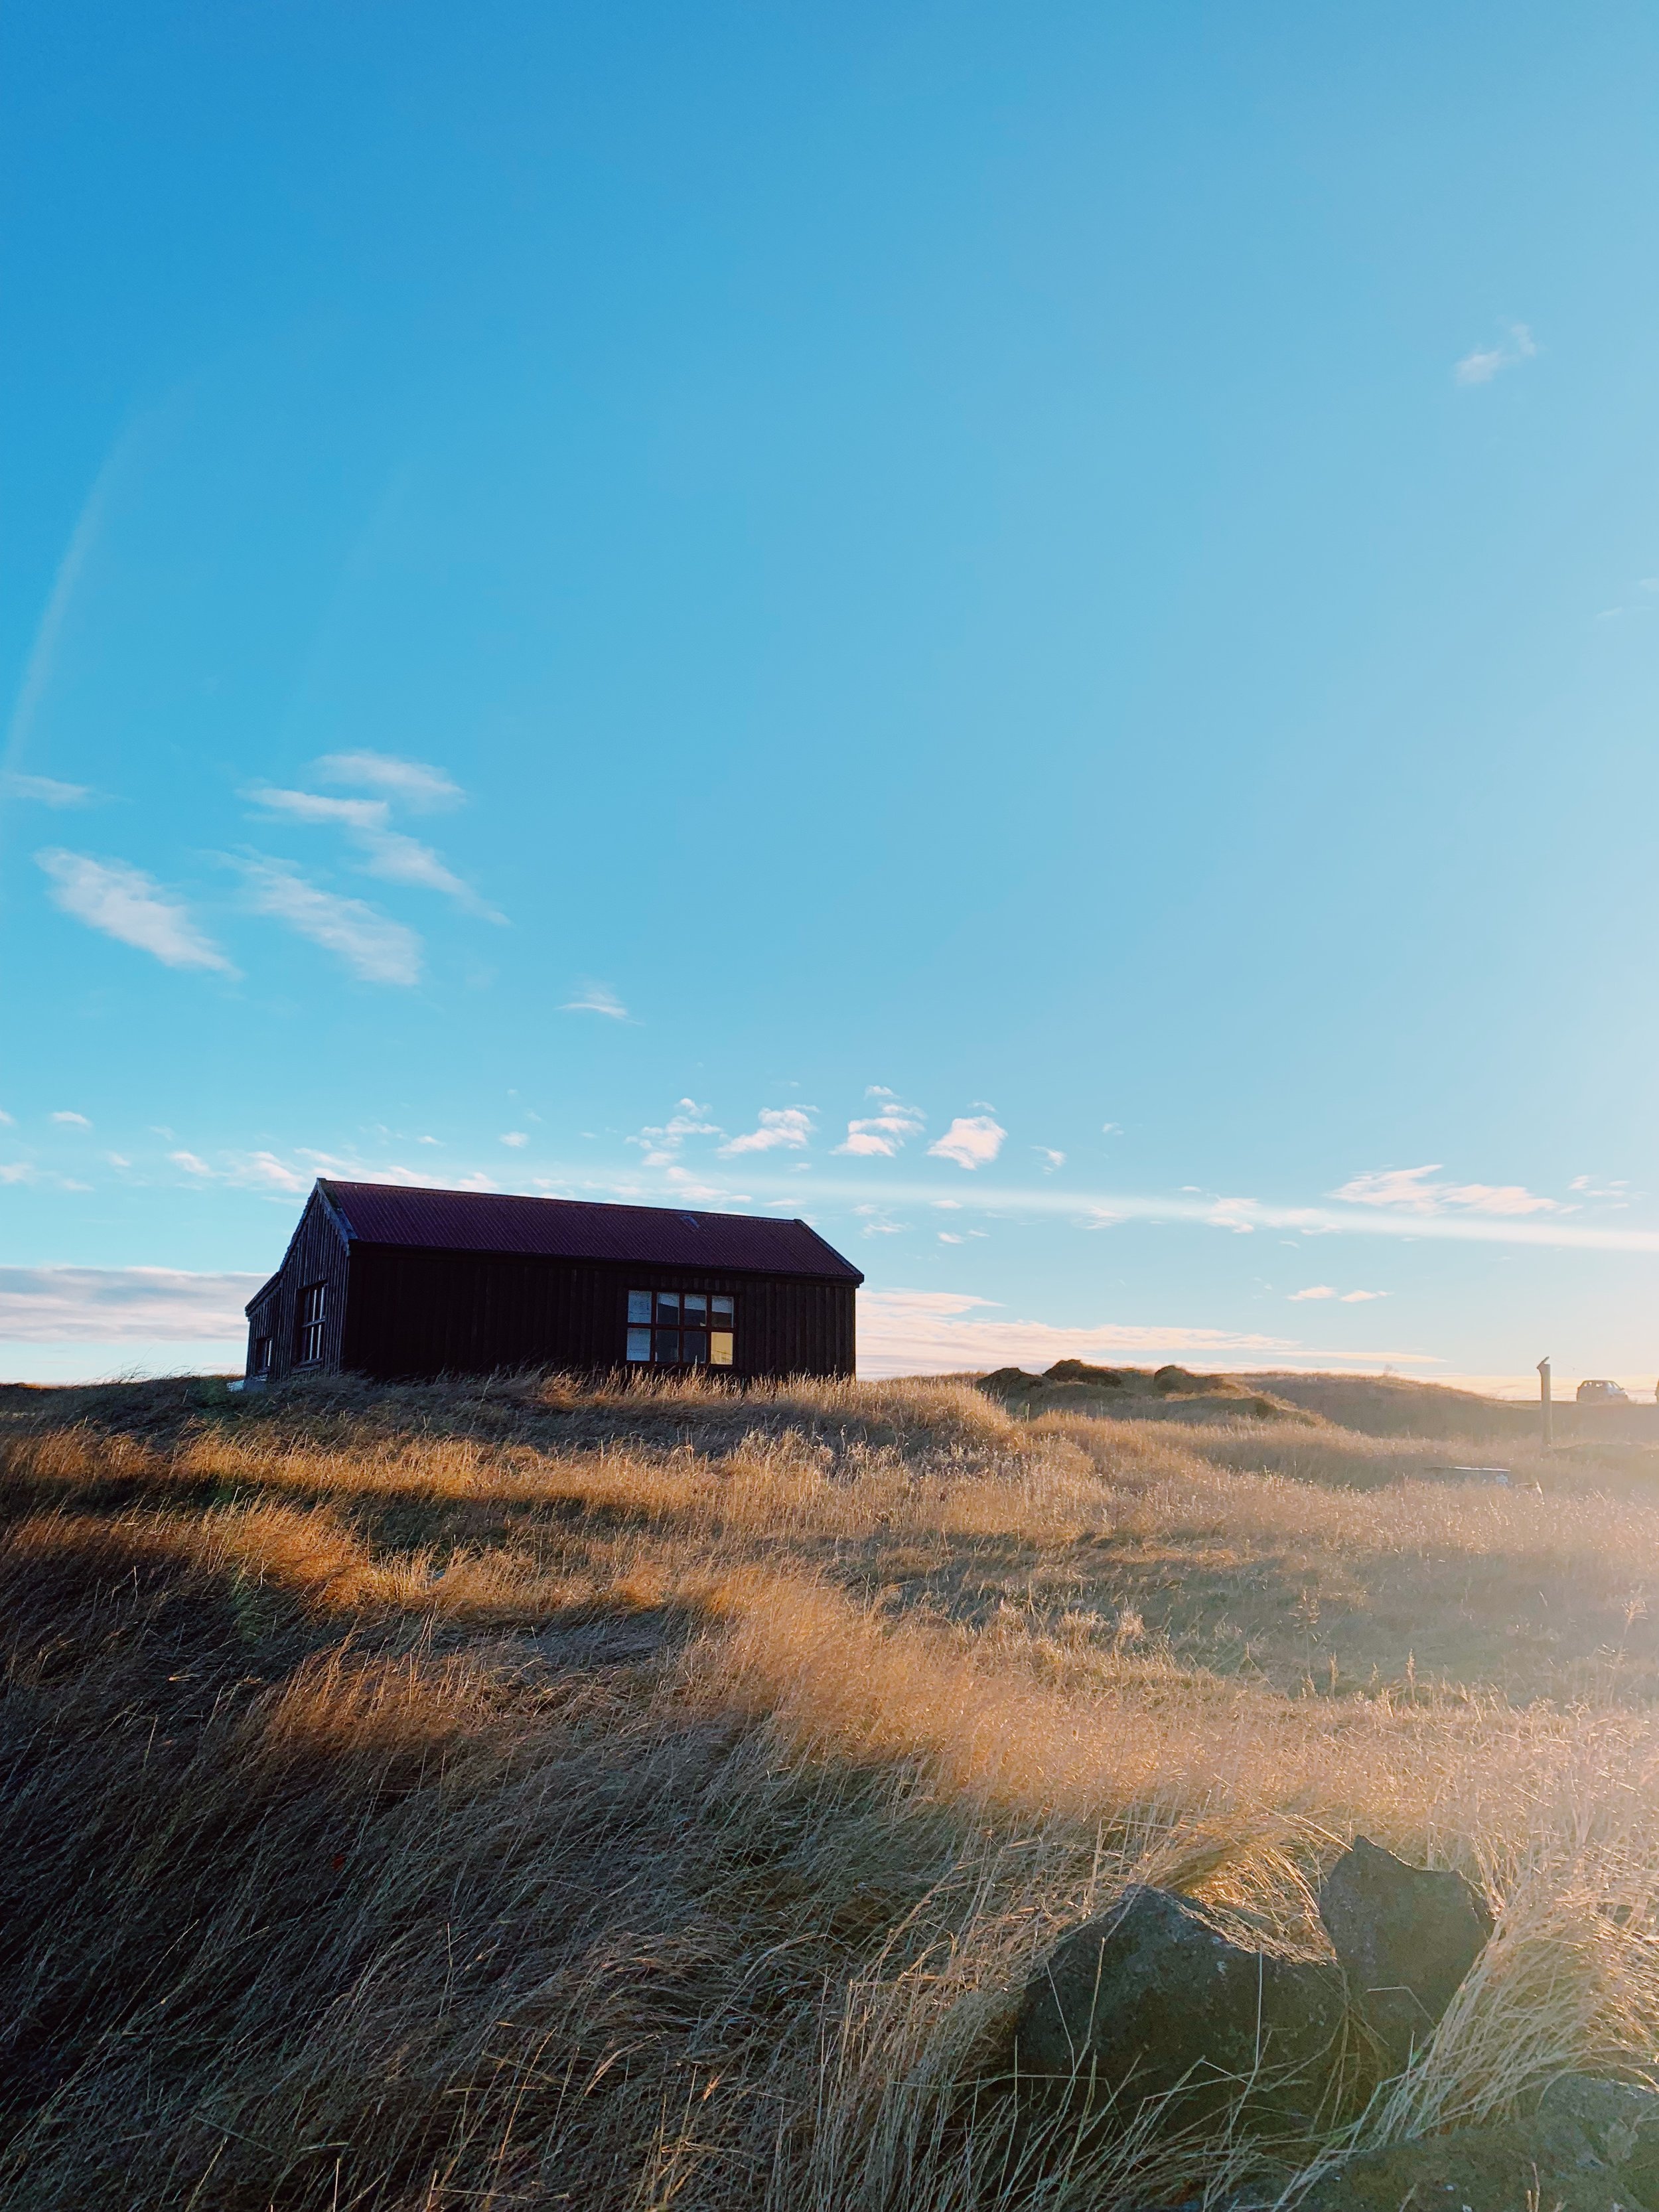
Another preset that I use sparingly is- Au 5. It is a very strong preset, so I only use it when I really want to highlight certain colors. When we were in Iceland I found myself using this preset often because I wanted to highlight the rich blues of the sky and golds of the dry grass around us! But it isn’t so great for skin tones.
-
Devin’s favorites are F2, HB5, and A5!
-
VSCO has some awesome black and white options too that I go back and forth between.
-
Play around with cropping images as well. You may need to remove something distracting from the photo, or just get creative with what the focus is!
-
Just have fun! There are a ton of ways to customize your photos. Play around with the different adjustments and sliders until you find your own style.
Here are some example photos for you!
Here are some example photos for you!
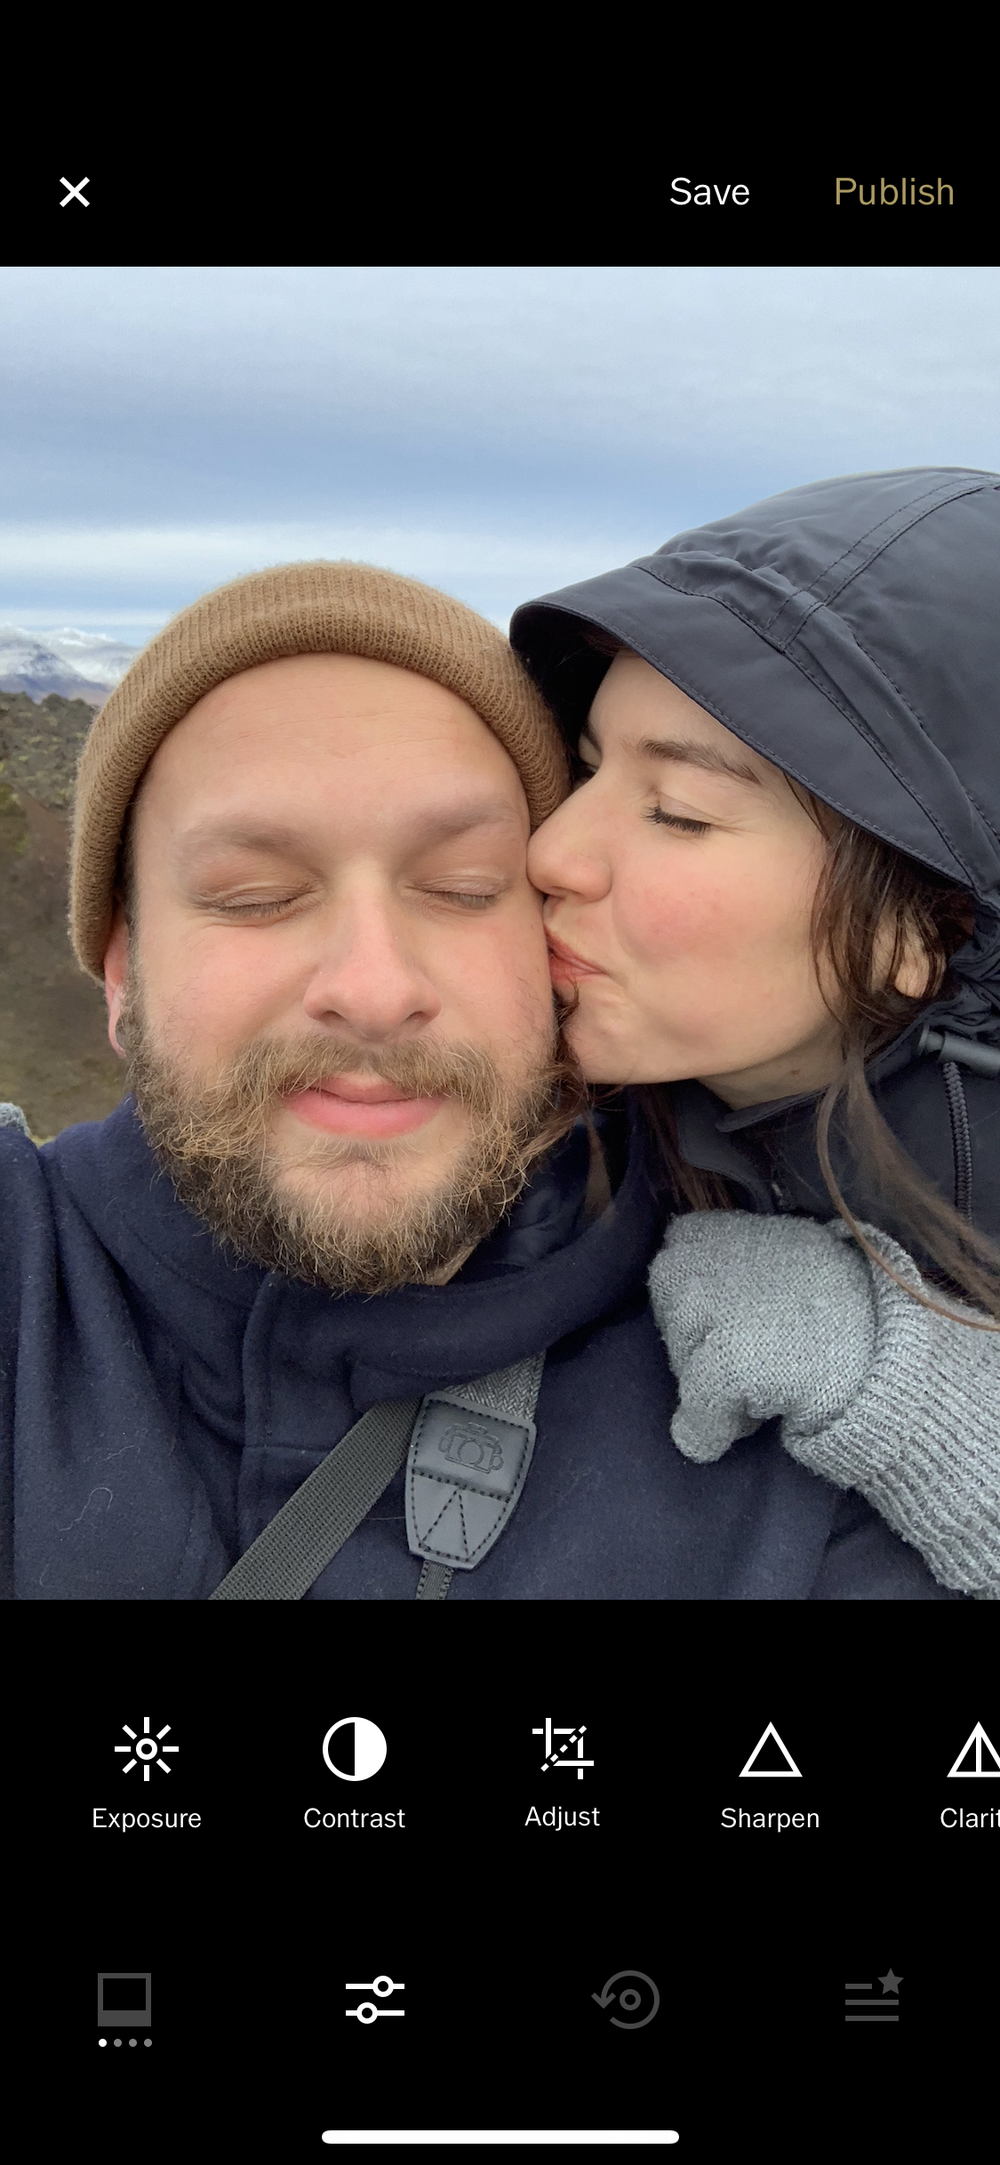
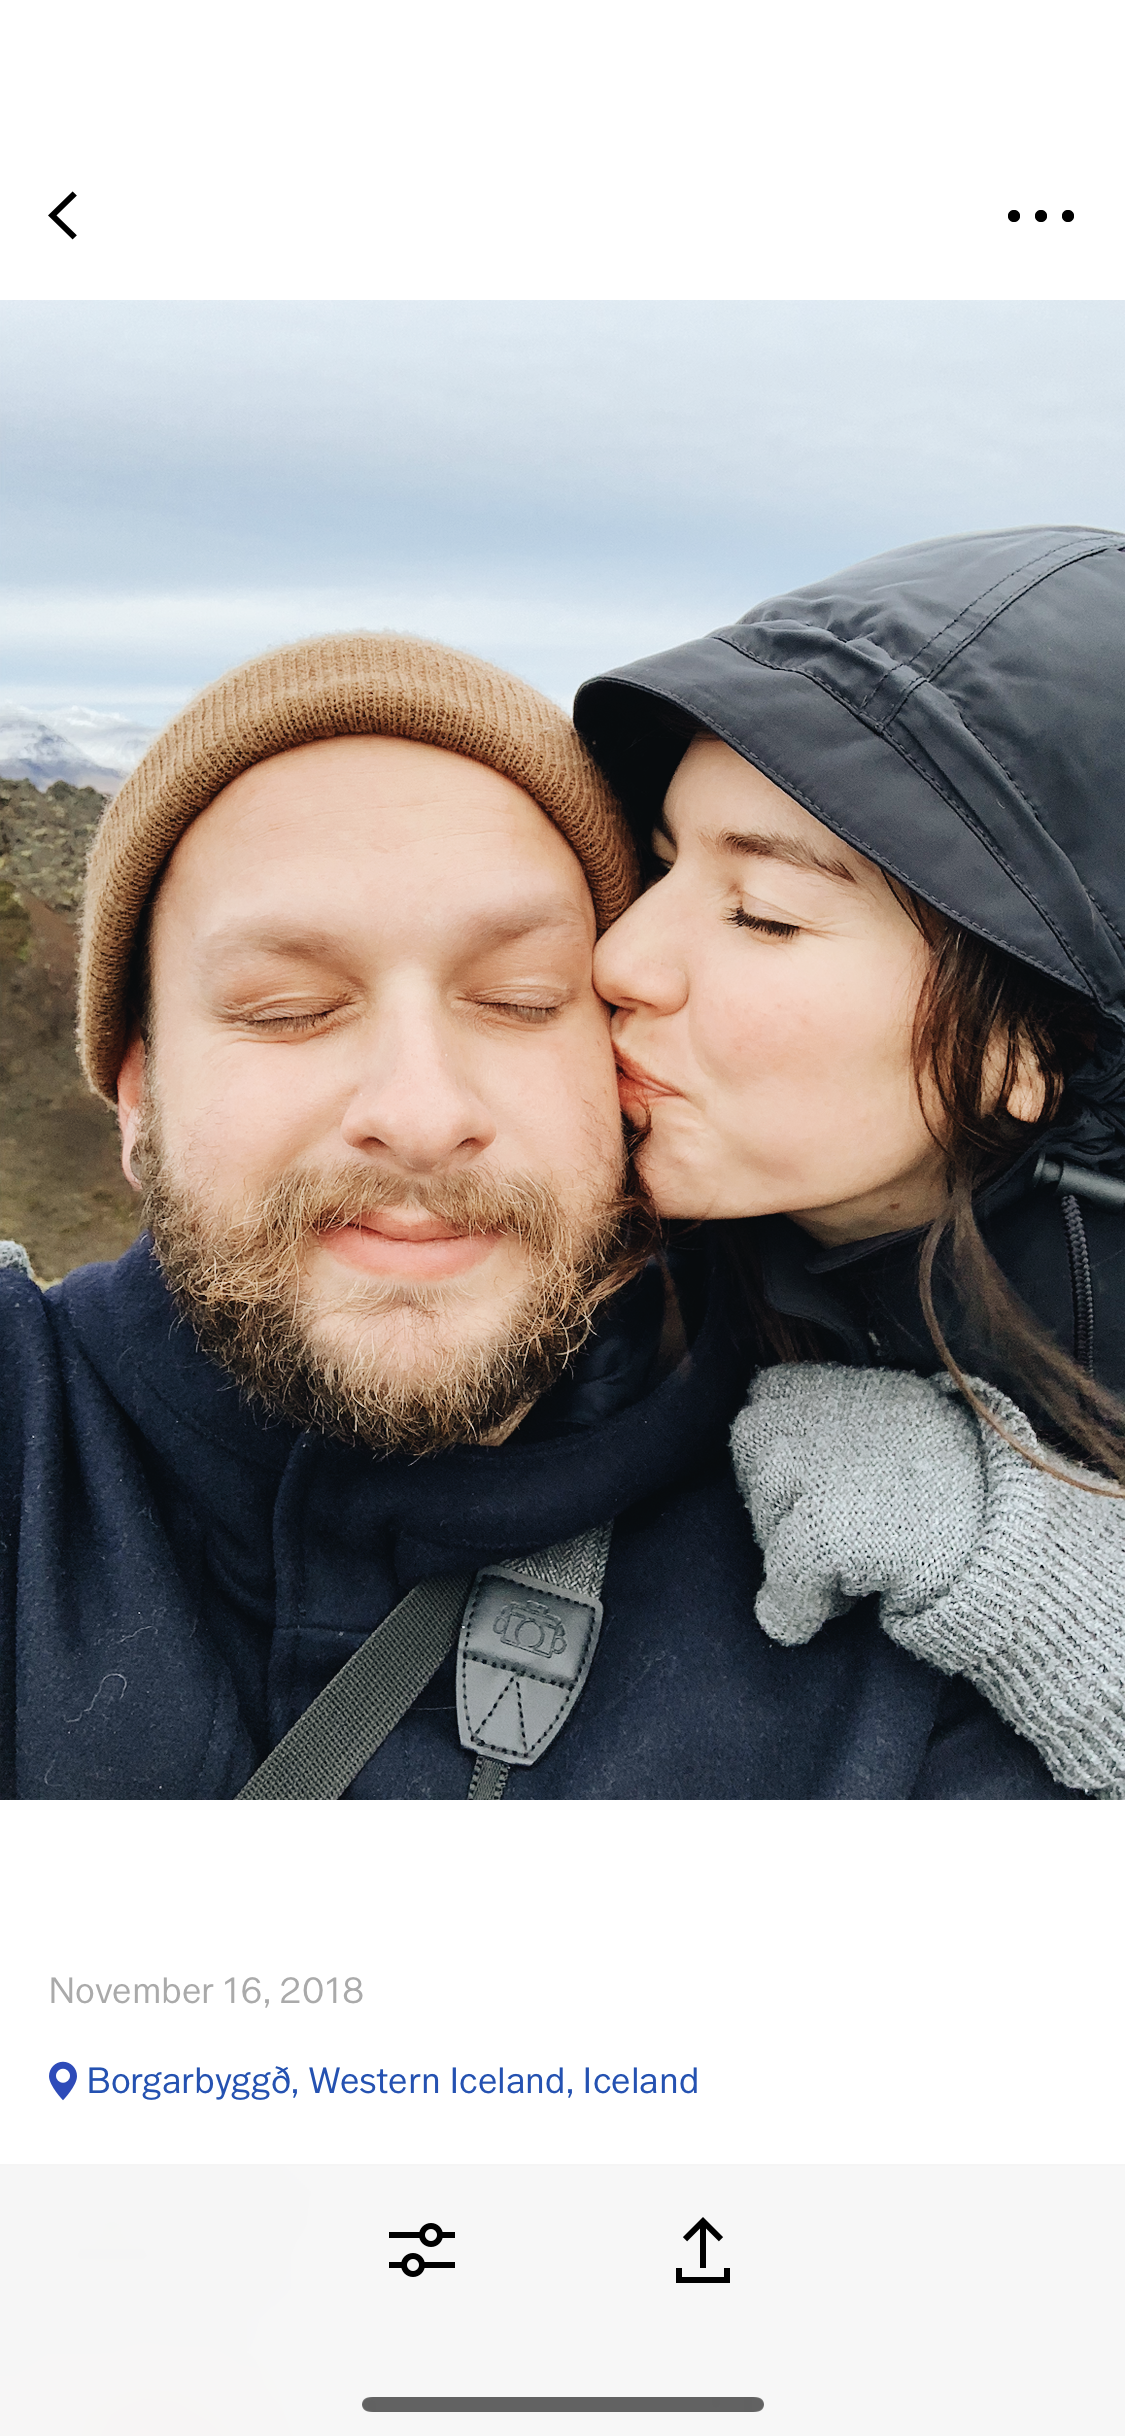
Right upon import into VSCO.
With the A6 preset applied-
Catherine’s fave!
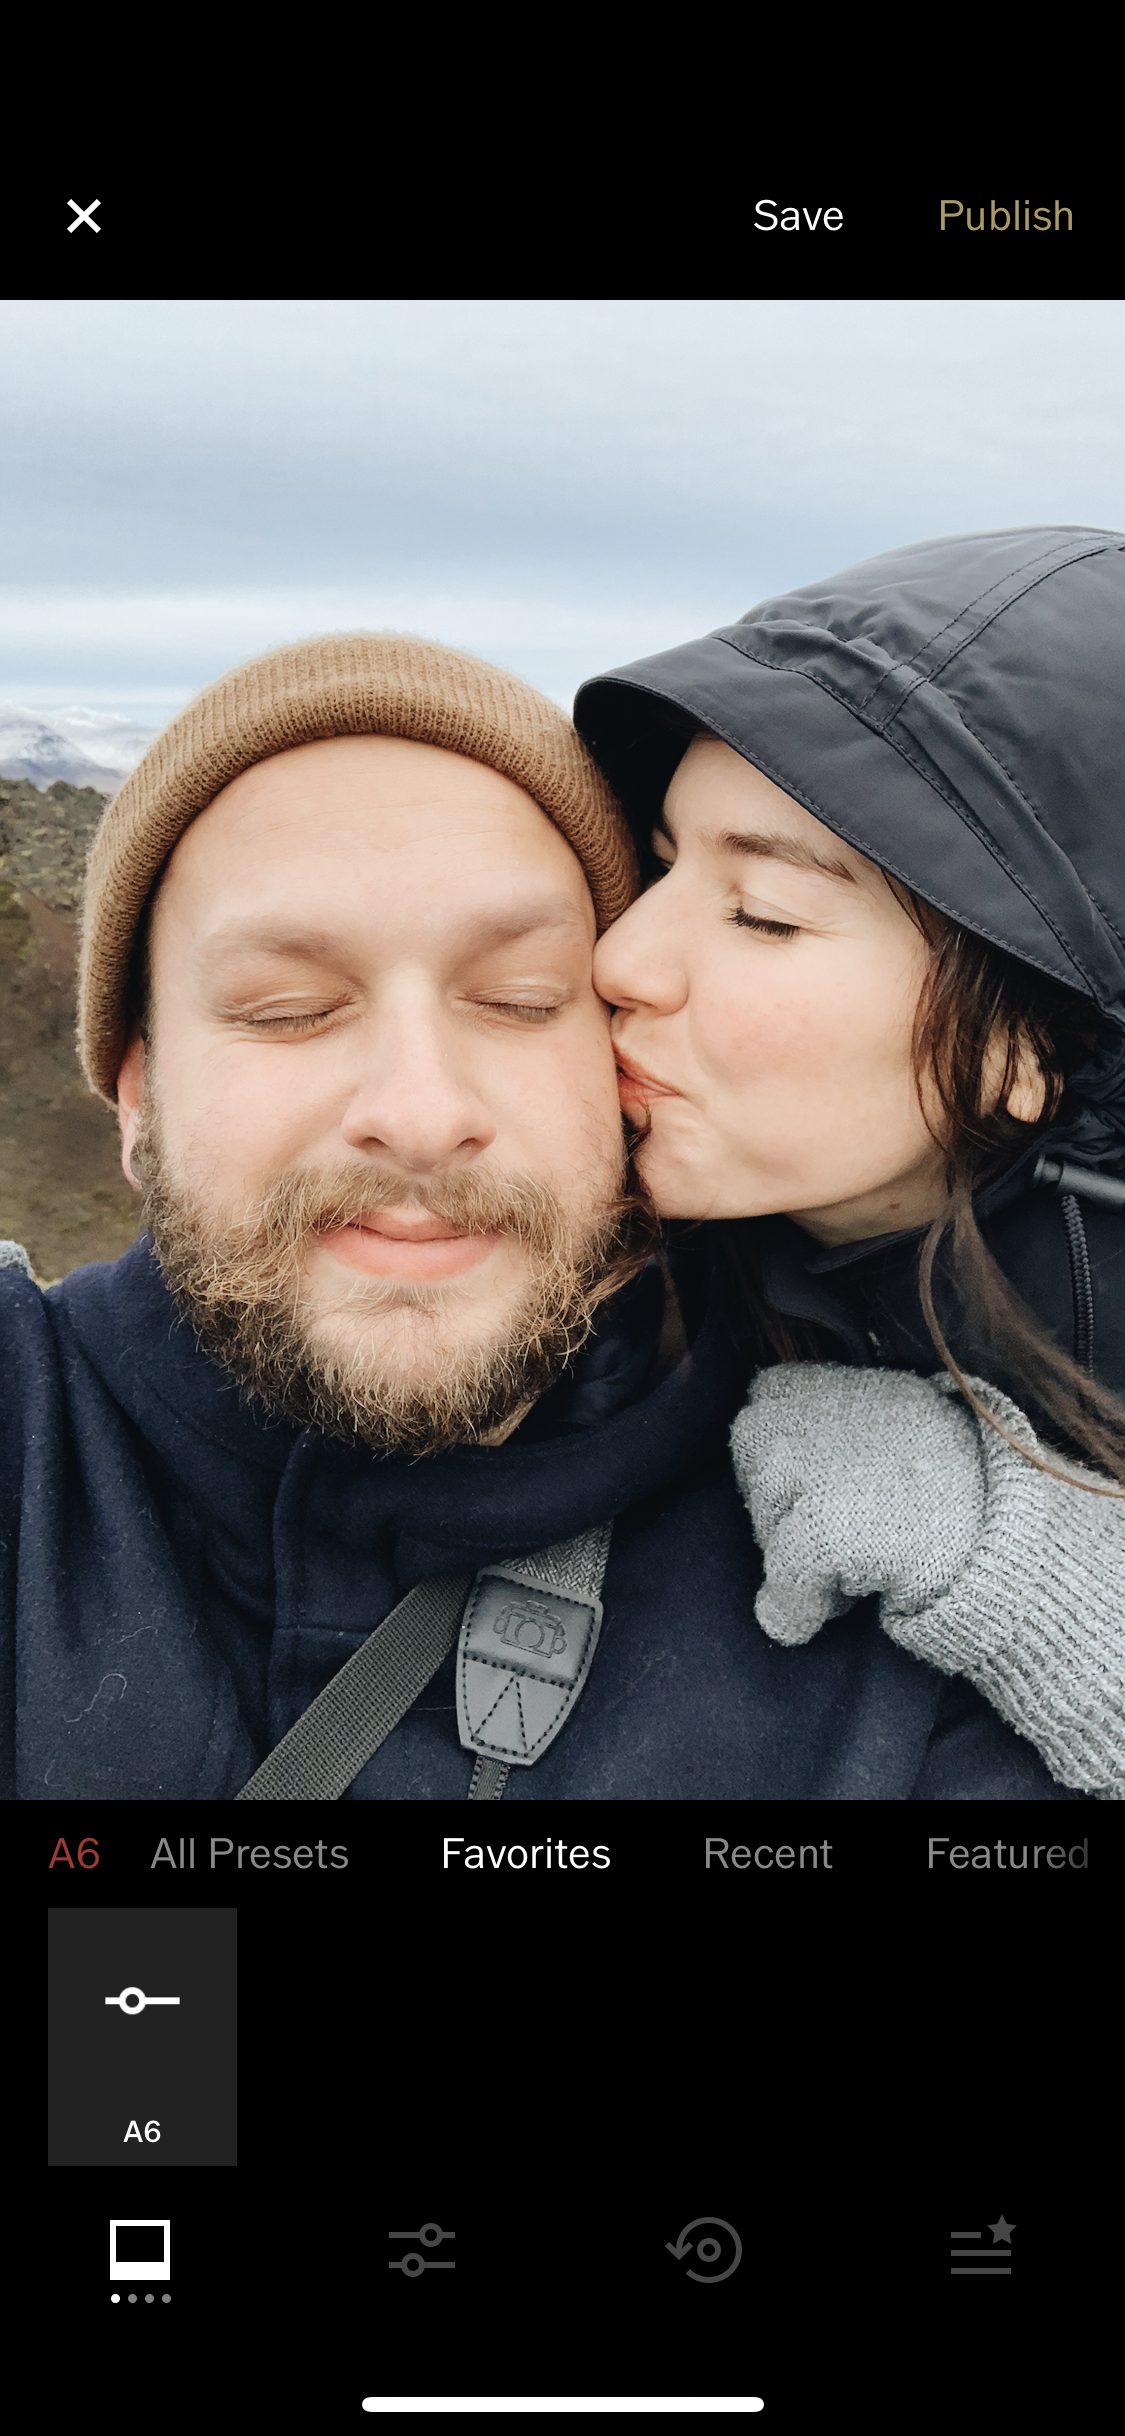
With small adjustments made-
contrast, saturation, and sharpness.
As you can see the adjustments are pretty subtle, but I believe it can make a big impact on the final image!

Right upon import into VSCO.
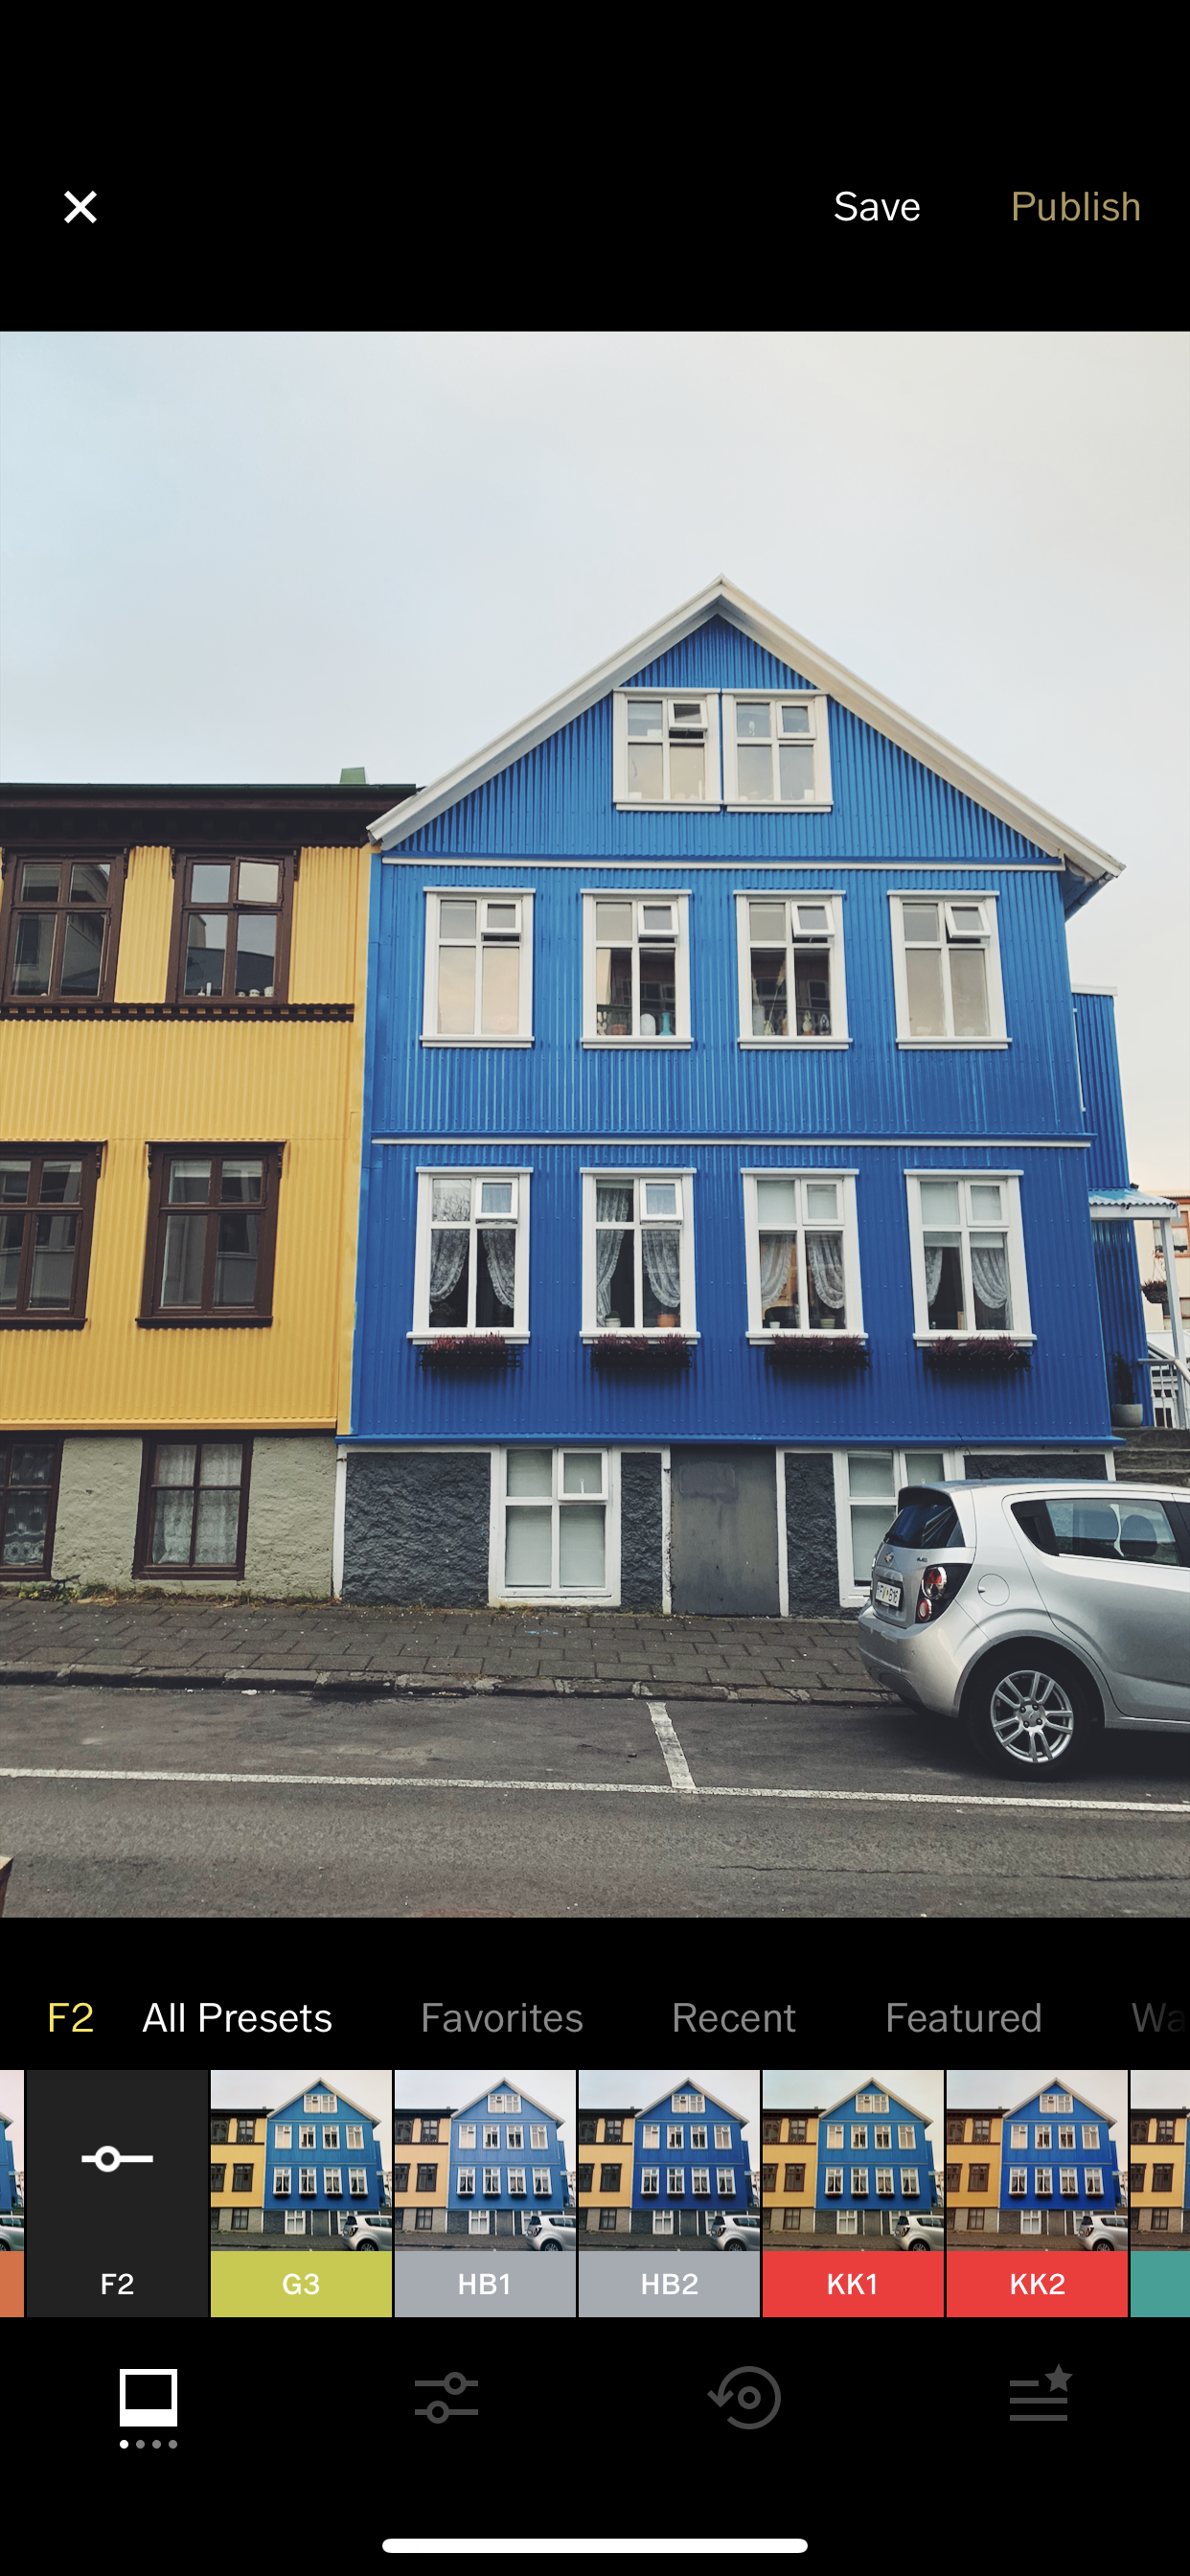
With F2 preset applied-
a favorite of Devin’s!
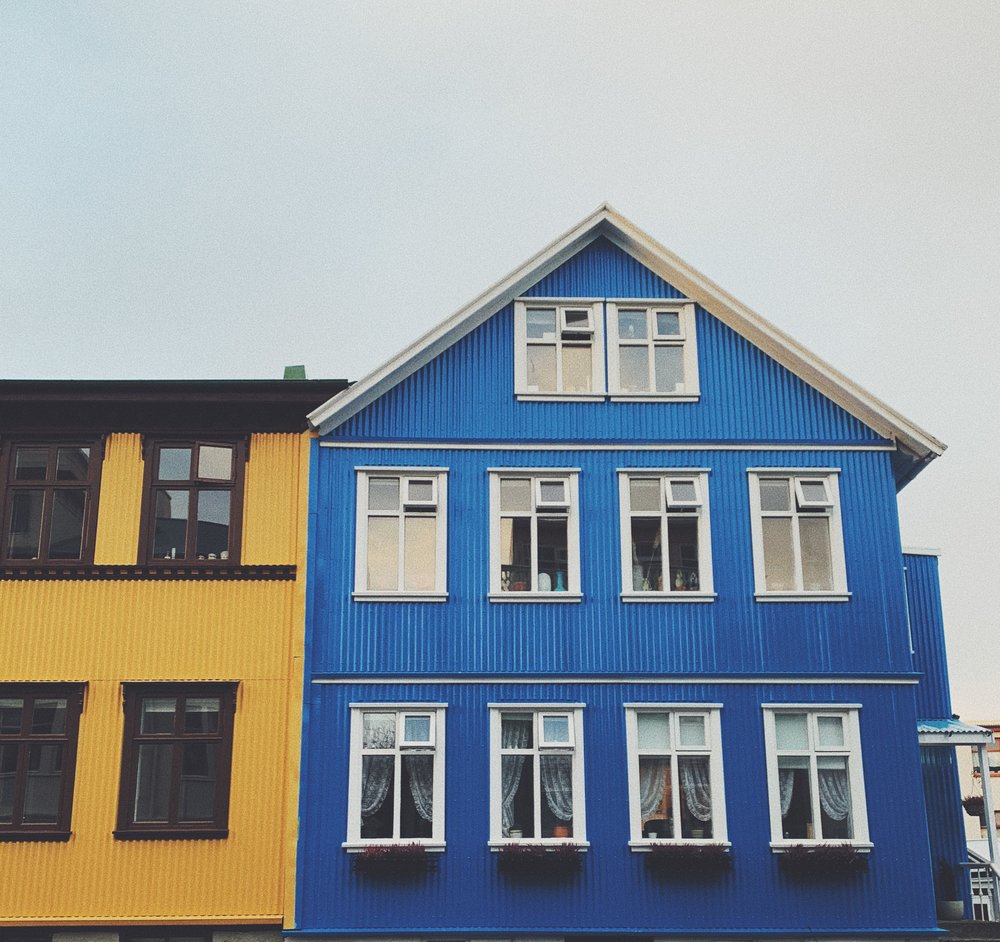
With small adjustments made
exposure, contrast, saturation, grain, and fade. Devin also cropped the image to remove the car.
And oh my gosh, we almost forgot! Our favorite little known PRO-TIP….
VSCO DSCO.
Is it as fun & cool as it sounds? You betcha.
On the home page on VSCO, you will see a little camera on the top left.
When you click it, you can actually take photos through the app with lots of control.
BUT, if you slide over from “photo” to “DSCO” on the bottom you can take these awesome little moving images/videos! You simply hold down the rainbow colored circle as long as you want it to film. Then you can even choose from a few presets by swiping left or right over the video after. Click the little arrow inside the circle to save it to your camera roll.
They are so fun, and we love sharing them on our insta stories. People ask us all the time how I make them, and now YOU are in on the little secret.
ENJOY!!!!
A6
G3

A6

FN16
AU5
AU5
AU5
C1
A5
Let me know if this was helpful!
Happy editing!
Tag us at @themasterinlove when sharing so we can see your creations!


Hi, very nice website, cheers!
Need cheap hosting for just $10/year? Or VPS, where plans starts with $6/Mo?
Check here: reliable-webhosting.com